Saturday, December 22, 2012

Mary's Makeover from Fire Truck Red/ Ronald McDonald Red to Fab Color!

Mary was watching her niece, when her 15 year old niece decided it would be fun to dye their hair fire engine red. These pictures do not depict her crazy red color, when the light hit it, it was very bright!


To do a corrective color, I dyed it all over in Wellas Cinnamon Brown (can't remember the exact color this very moment), then I foiled blonde through out. Some spots the red was very concentrated and NOTHING was pulling it off of her scalp. Her hair turned out awesome!! Some of the color didn't lift well but faded enough to be pinkish, but it was breast cancer awareness month, so it just looked like she put pink in her hair for that.


Thrifty Living: Dollar Tree Headbands, Dyed:

I wanted my 10 month old girls to get dressed up for the holiday so I bought some bright white headbands from the Dollar Tree. Well, the outfits they are going to wear when we do our Christmas, do not have bright white in them. One girl has a cream colored sweater dress, the other has a pink, black and gray sweater dress.

I steeped some green tea and put a headband in the hot tea for a few minutes. Rinsed it in cold water and even hot water a few times. Then I added a tea bag to the already steeped tea and heated in the microwave for another 90 seconds. The results are exactly what I was looking for!


Then I realized the pink dress didn't have white, so I decided to dye that headband pink. I tried with pink food coloring in hot water, but it wasn't working. Funny enough, my boyfriend's generic Crystal Lite from WalMart did the trick! The bow to this one fell off instantly when submerged into the hot liquid. I wanted the bow to be a shade or two darker, so I put it in a more concentrated batch. In the midst of it, the "rose" unraveled so I just wrapped it and tacked the bow onto the headband with a diamond earring (not pictured). I am very happy with the results, especially the cream colored one!!


Afterwards I rinsed it really well in vinegar, water and salt. I read it will help keep the dye in. Even if they only get one use out of them, it was worth it! I am very happy with the results!

Pinned Craft: Playdough:

Our family has been quite strapped this year. So, in an effort to make the most of "gift giving" and thrills, I made homemade Playdough. I created a storage box out of a Cheerios cereal box, wrapped it in gift wrap, used a toilet paper roll to boost 2 small jars, and this is the end result. I am very pleased with the results. I did a batch of 5 in the afternoon, then a batch of 5 the next morning. I used a box of regular food coloring, and a box of neon food coloring. I got this recipe off of Pinterest, to where I was directed to Adelyn Stone's page. Her depiction of the steps is spot on. The only thing I did differently was make the batch WITHOUT adding the coloring. Then I made 5 even sized balls and added the color in there, un-gloved. It's okay, it's only food coloring, it'll wash off your hands. It does not seem as if it transfers onto the skin when playing with it.


Our THIRD Christmas Together, 2012:

Happy Holidays everyone! Our tree is truly beautiful and my pictures don't do it justice. 
Jason said last year that a Christmas Tree isn't Christmasy without red. So this year I incorporated the red, basically eliminated a lot of gold, and got rid of the Mariah Carey-esque bling. I really wish I could capture how truly beautiful it is. This is another Woodland tree from our yard.


Friday, November 23, 2012

Permanent Hair Color Review: Garnier Nutrisse Nourishing Color Foam, Iced Mahogany Dark Brown 4IM:


I have been semi- permanently dying my hair for a few years, after being a habitual permanent hair dyer since the age of 11, I am 31 1/2 now.

I wanted to make sure that I wasn't going to regret this color and not have to worry about stripping my hair if it didn't work out. I read the reviews after buying this color. The model and the hair color looked great! The color was exactly what I wanted to achieve. I was in search of something with warm tones, and this had what I was looking for. I really wanted to blog about this because the reviews online were not very accurate. Many people were blogging about different colors under this specific color, or they'd give it bad reviews based on their inexperience or poorly conditioned hair.

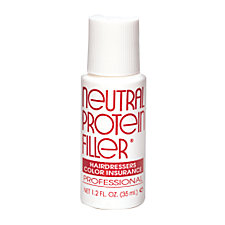
Before: *the condition of my hair was great actually. I did have a perm that I chemically straightened myself 2 weeks before the color, so that's why you may see some fly-aways. Because my hair was so porous, I wanted to use a protein filler to make sure all of my hairs colored evenly, meaning: I was hoping my ends wouldn't turn out darker than my roots. I bought this from Sally's:


My hair color is natural, medium brown with chunky natural orange thick highlights throughout. Stylists tell me that I am crazy for wanting to dye my hair cause people pay big money for what I was naturally born with! LOL!
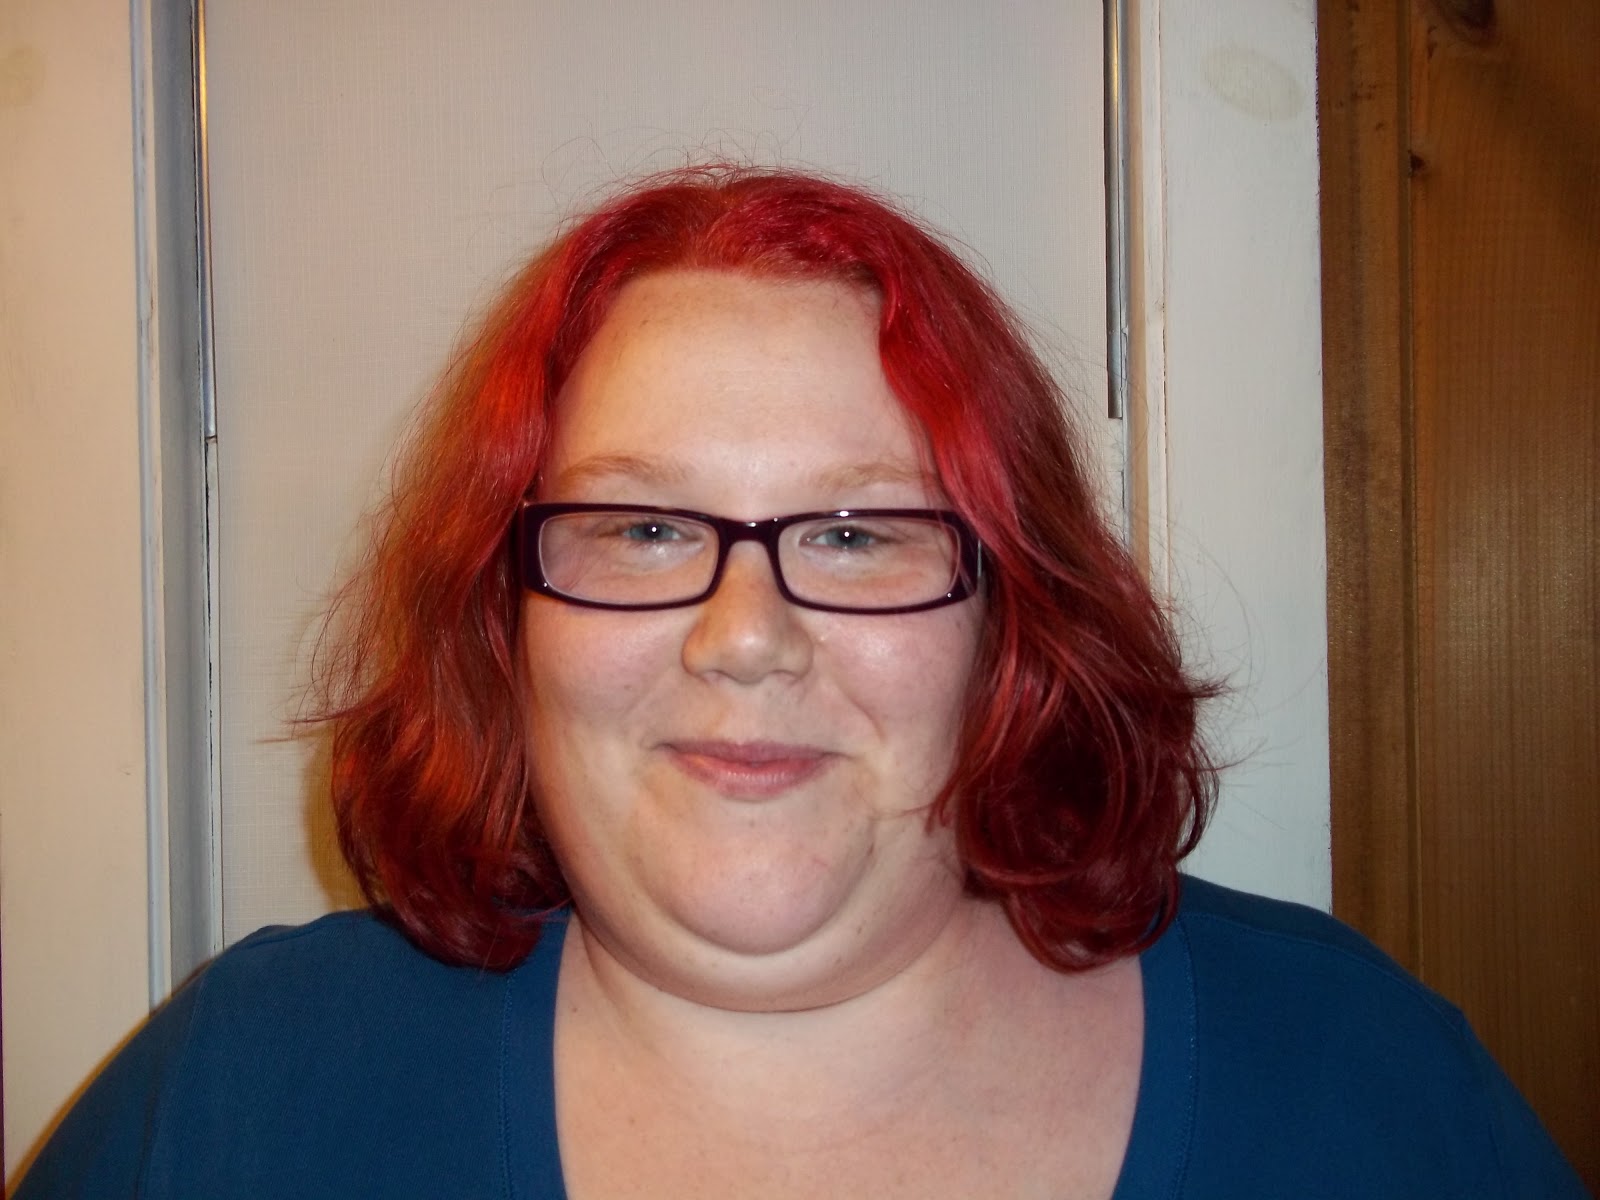


After:


Results:

Well, as you may see, the ends still appeared darker. The condition of my hair turned out very healthy. It was very shiny. The darker ends faded and blended in well, but even my natural highlights didn't take on the color as bold as I had hoped. I wasn't mad at this color, it was pretty decent. I would recommend this product. It did fade fast, but I am glad I tried it, because it prepped me for the dark that I wanted to achieve.

Pinned Dessert: Acorns:

I know we've all seen them. I made these a couple of months ago for a cookout.

Ingredients:

A bag of mini Oreos for the tops
A bag of mini Nutter Butters for the tops
A bag of mini Chocolate Chips for the stems
A bag of Hershey Kisses for the base

These are so easy to make.
Take some of the mini chocolate chips (a half cup or so) and heat them in the microwave on 15 seconds, stir, then maybe another 15 seconds. This is going to be your "glue".
Unwrap a Kiss, take a "top" out, dip the Kiss in the melted chocolate, attach it to a top, then dip a mini chocolate chip into the melted chocolate and stick that to the top.

You can do all different variations of tops and Kisses.


Pinned Project: Vegetable Storage from a Plant Box:

I was looking for a way to contain my potatoes and any extra veggies that accumulate on my counter.
This was my very first "Pinned It and Did It" project!!

Potatoes are out of their ugly bag, more counter space and veggies aren't in random areas on the counter!


Accidentally Wonderful's 3 Ingredient Strawberry Cobbler:

I stumbled across Accidentally Wonderful's Blogspot. I ran into her 3 ingredient Strawberry Cobbler!
This was super easy to make, very affordable, and extremely tasty!! I think the only thing I might do when I made it again is cover more of the cake mix, but I loved it just the way it was. We did not have ice cream with ours and it was perfect!!

You may find her post here with the cooking instructions:
Accidentally Wonderful's 3- Ingredient Strawberry Cobbler

Ingredients:
2 16 oz bags of frozen strawberries (or any other frozen fruit, or canned peaches without the juice)
1 box of white cake mix
1 can of lemon-lime soda

www.allrecipes.com "Mom's Zucchini Bread":

This was my first time ever making zucchini bread, and it turned out heavenly! I Googled and came upon this recipe, and it was a winner!! So moist!!! The only thing I did differently, I think I was running low on vegetable oil, so I did a half cup of vegetable oil and a half cup of cinnamon applesauce.
I also left out the nuts.
I would have posted the recipe, but here is the link instead. 


LinkWithin

Related Posts with Thumbnails